Why it matters Course video Manual One-card summary Hand off The evidence
Texas flag
EVERY STONE COUNTS · FIELD PROTOCOL · VERSION 2.0 · SEPTEMBER 2026

EVERY STONE COUNTS

Recording What Cannot Be Saved: A Scalable Photogrammetry Model for Texas Freedom Colonies and Other Underserved Communities

Archaeology as rescue as much as research.

iPhone Capture Protocol — A 15-minute course for volunteer photographers documenting grave markers.

Camden Factor · Every Stone Counts · for the teacher and the volunteers
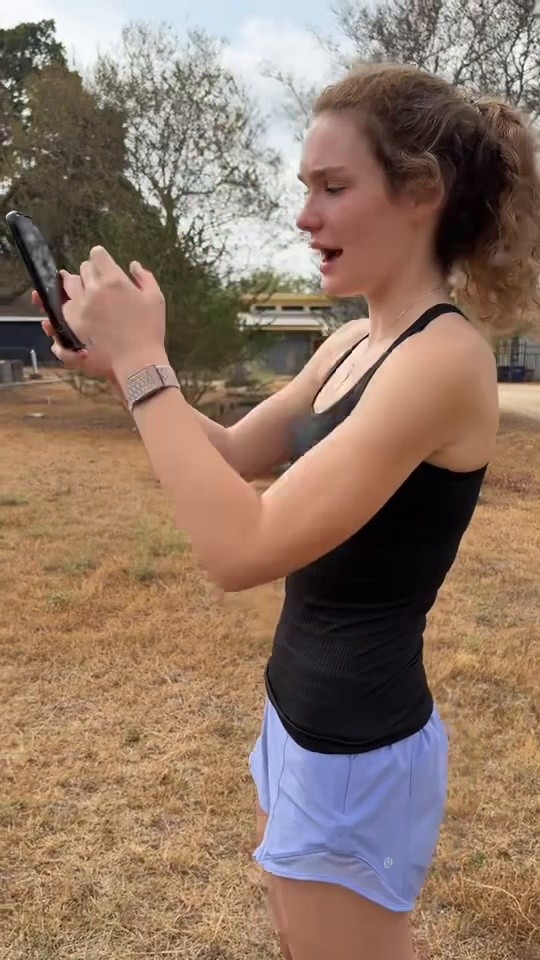
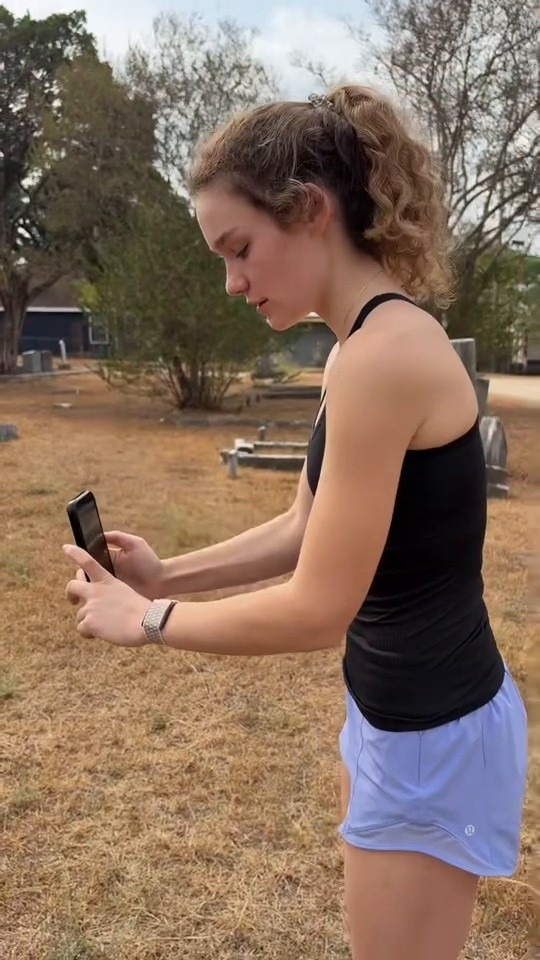
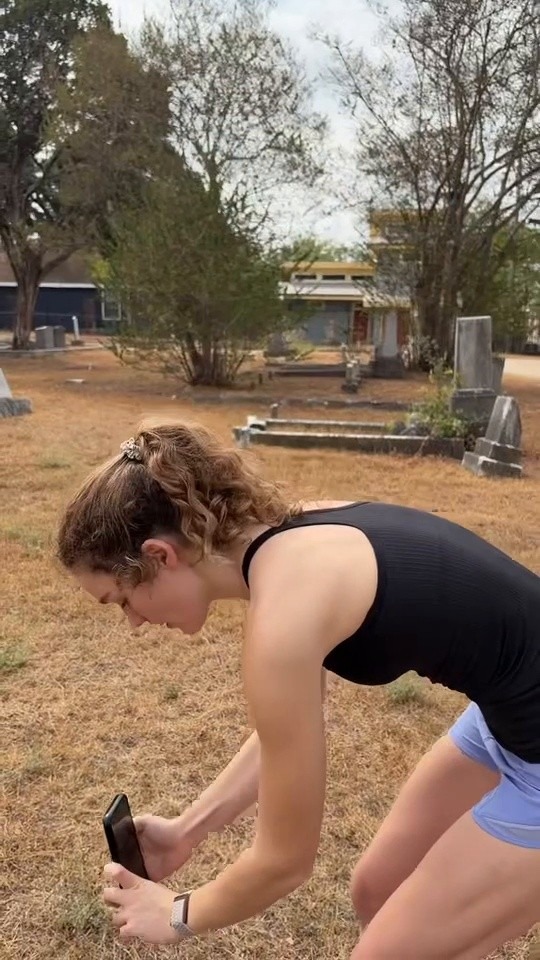
High: arms up, aiming down Mid: level with the middle Low: crouched, aiming up
15 minutes of training. One phone. A 3D record of a grave.
WHAT TEXAS IS LOSING

Most cannot be saved. They can be recorded.

Freedom colonies are settlements founded by formerly enslaved African Americans, 1865–1930. Some survive only as a cemetery, a church or a few residents.1

Their graves are marked by fieldstones, depressions and hand-carved or hand-poured markers. Development, weathering, plants, livestock, vandalism and neglect threaten them.2

550+
freedom colonies founded in Texas1
357
documented by the Texas Freedom Colonies Project1
~14,000
Texas cemeteries known to the THC2
PURPOSE

To let the people nearest an endangered cemetery—descendant families, county historical commissions, local historical societies—add its grave markers to the record themselves, before the markers are lost.

NOT JUST THE WORDS

A transcription keeps the inscription. A 3D model keeps the stone itself: its shape, carving, material and condition. Many fieldstones and hand-poured markers carry no inscription at all; their form is the record.

$179

Total cost to run Every Stone Counts in a county. One Metashape Standard license, bought once. Volunteers use their own phones; the processor uses their own computer; the course is free.6

¹ Handbook of Texas, “Freedmen’s Settlements” (2022). ² Texas Historical Commission; S.B. 586 bill analysis (2025). ⁶ Agisoft store (2026); Tex. Gov’t Code § 442.301 et seq.

Watch on YouTube ↗
THE COURSE VIDEO

Three rules. If you remember nothing else, remember these.

1x
one lens, locked, for the whole stone
76–80
sharp frames — stop, then shoot
60 sec
check before you walk away

Settings are for the iPhone 15 Pro and Pro Max. Photogrammetry training: Alabama Historical Commission CRM Professional Training Program, Old Cahawba Archaeological Park.

THE MANUAL

The 15-minute course, step by step

1Get permission 2Set the phone 3Choose the light 4Take the photographs 5Review before leaving
1STEP 1 · GET PERMISSION

Permission first

Before anything else, and before every marker.
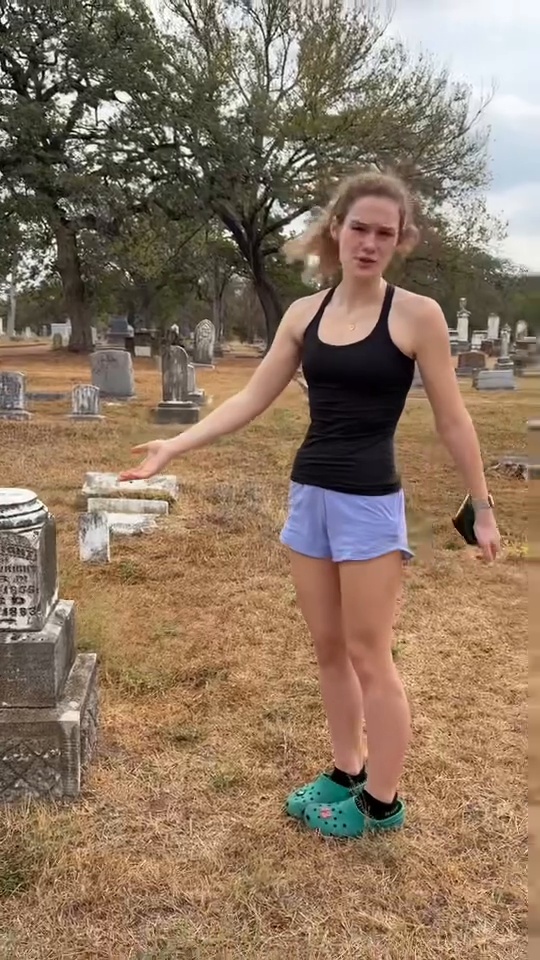
Still from the course video
Landowner or cemetery association

Written permission before you photograph on private land, or wherever the owner or association asks for it. Keep a copy with the field log; write who gave it and when.

Family

Where descendants are known, their consent decides whether a marker is recorded and whether the record is shared. No consent, no capture.

On the day

Nothing is touched, cleaned or moved. No brushing, no wetting, no rubbings. Photograph the marker exactly as you find it; note anything already broken or leaning.

Most cannot be saved. They can be recorded.
2STEP 2 · SET THE PHONE

Before you leave the house

Eight settings. Set them once — Settings app, then Camera. They stay set.

1
Formats
Camera Capture → Most Compatible
Photo Mode → 24 MP
ProRAW & Resolution Control → OFF

Plain 24 MP JPEG, and no RAW / HEIF Max button on screen to hit by accident.

2
Macro Control
Turn it ON

Counter-intuitive: ON gives you the flower button that switches automatic macro OFF. This is the big one.

3
Main Camera
Additional Lenses (28 mm, 35 mm) → all OFF
Default Lens → 24 mm

Then 1x is always 24 mm, however many times the button is tapped.

4
Photographic Styles
Set to Standard

Anything else bakes contrast and colour shifts into the file.

5
Grid
Turn it ON

Keeps the stone centred and the phone level without thinking about it.

6
Preserve Settings
Macro Control ON
Live Photo ON

Your macro-off and Live-Photo-off choices survive closing the app.

7
In the camera, once
Live Photo → OFF

Tap the concentric-circles button until it shows crossed out. Each Live Photo carries a video clip; the set doubles in size.

8
Before you drive out
Battery 100% · 10 GB free
Wipe the lens · Do Not Disturb

A smudged lens looks fine on the screen and ruins every frame.

Setting names are as they appear in the Settings app on the iPhone 15 Pro and Pro Max; Apple moves the wording between iOS versions.

At the stone: lock the camera down

Thirty seconds, every single time, before the first photograph.

1 · Tap 1x

The label must read exactly 1x. If it reads 1.2x or 1.5x, tap it until it reads 1x.

Never 0.5x, 2x, 3x or 5x. Those are other lenses or crops, and the software then has to solve a second camera.

1x is the only lens that goes in the set
2 · Turn macro OFF

Bring the phone to within a hand's width of the stone until the yellow flower appears. Tap it so it shows crossed out. Back up to working distance.

With Preserve Settings → Macro Control on, it stays off.

The button only appears when you are close
3 · Press and hold to lock

Hold your finger on the middle of the stone until AE/AF LOCK appears in yellow. Focus and brightness are now frozen.

Lock once, at mid height, and keep it for the whole lap.

Any tap on the screen unlocks it — re-lock at mid height

If the label in the corner ever reads anything but 1x, stop. Those frames will not line up with the rest.

3STEP 3 · CHOOSE THE LIGHT

Light

Pale stone in hard sun is the worst case there is. Pick your hour.

BEST
Bright overcast, or the open shade of a building
  • Even light everywhere on the stone
  • Carving still reads, no blown white
  • You can shoot any time of day
WORKABLE
First hour after sunrise, last two before sunset
  • Low sun rakes across the carving
  • Keep your own shadow off the stone
  • Work fast — the light moves
NEVER
Midday sun, and dappled light under trees
  • White stone goes pure white, detail gone
  • Moving leaf shadows break the matching
  • Never use the flash

If the sky is right, go. If it is not, the trip is better spent on something else — bad light cannot be fixed afterwards. Check the forecast the night before. On a clear-sky day, move the trip to the first hour after sunrise or the last two before sunset, and write which one it was in the field log.

4STEP 4 · TAKE THE PHOTOGRAPHS

Where to stand, and stay there

One distance for the whole stone. Detail comes from more angles, never from stepping closer.

The working distance: whole stone, a margin of ground and sky
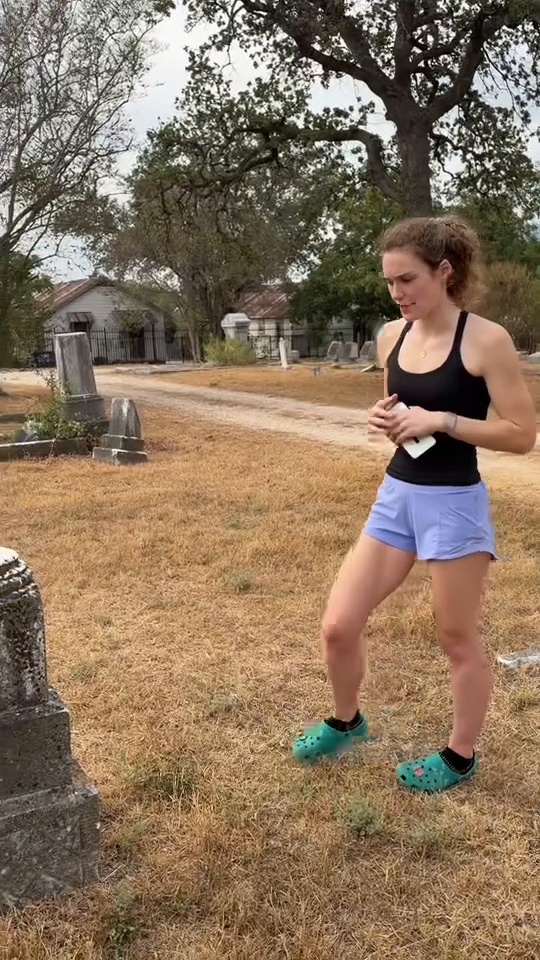
Back up until the whole stone fits

Whole marker in frame, plus about a hand's width of clear space on every side. For a waist-high stone that is roughly two paces back.

Hold the phone upright

Portrait for tall markers. Landscape only for a low ledger stone. Match the shape and you waste fewer pixels on grass.

Keep that distance all the way round

Pick a crack, a root, anything on the ground, and pace the same arc. Changing distance mid-orbit is what confuses the software.

THE TRAP

Wanting a close-up of the carving is the trap. Stepping in triggers macro, macro switches the lens, and the whole set is compromised.

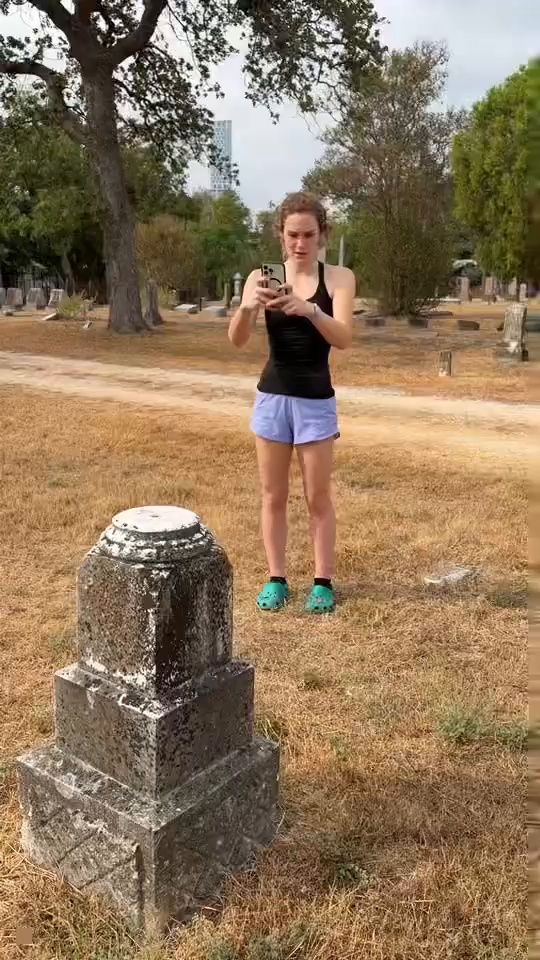
The photograph on the left is the distance: whole stone, a margin of ground and sky, phone upright, both hands.

The three-height orbit

One complete circle. High, mid and low at every stop. This is the whole capture.

High
1 · High: arms up, aiming down
Mid
2 · Mid: level with the middle
Low
3 · Low: crouched, aiming up

At every stop: high, mid, low — three frames, then one small step.

24 stops per lap
×3 frames per stop
+4 top and both faces
= 76 frames minimum; about 80 in practice

From above — one full circle, not an arc. 24 stops per circle · one small step between each.

Step. Stop. Breathe out. Shoot.

Blur is invisible on a phone screen and fatal in the model. The rhythm is the cure.

STEP›STOP›BREATHE OUT›SHOOT
Two seconds a frame.

Eighty frames is about five minutes of actual shooting. It is not a long job when it is done properly.

Never press the shutter while you are moving.

Stop first, then shoot — every frame, no exceptions.

Both hands, elbows tucked in.

Brace against your own body, not the air. Lean on a tree if there is one.

Fewer, better.

Eighty sharp frames beat two hundred soft ones. The software works from sharpness, not from quantity.

Target: 76 frames minimum, about 80 in practice. If you are past 120, you are walking and shooting instead of stopping and shooting.

5STEP 5 · REVIEW BEFORE LEAVING

Measure the stone

Your photographs give the shape. One measurement gives the size.

Volunteer's Grave 3 model (unscaled)
W base block, across the front face, edge to edge
H inscribed block, bottom edge to top edge
  1. 1
    Open Measure
    Built into iOS. On the 15 Pro and Pro Max the LiDAR scanner adds guide lines along straight edges.
  2. 2
    Measure two dimensions
    W and H, between corners you can point to in the photographs. Stand square to the face, about an arm's length away.
  3. 3
    Measure each twice
    If the two readings differ by more than 1 cm, do it again.
  4. 4
    Save the screenshot
    Tap the shutter in Measure, or take a screenshot, with the line and the number on screen. It goes in the same folder as the photographs.
  5. 5
    Write it in the field log
    What was measured, the reading in centimetres, and "Measure app" or "tape".
  6. How good is it?
    Apple describes the app's results as approximate. Independent tests of the iPhone LiDAR scanner (12 Pro) put small-object accuracy at about ±1 cm — roughly 2% on a 60 cm base. A tape measure is more accurate: if you have one, use it and say so in the log. The processor uses your numbers to scale the model; without them nothing on it can be measured.

Apple, iPhone User Guide, "Measure dimensions with iPhone": "Measurements are approximate." Luetzenburg et al., Scientific Reports 11, 22221 (2021): ±1 cm absolute accuracy on small objects with the iPhone 12 Pro LiDAR scanner; range up to 5 m.

Sixty seconds before you walk away

Standing at the stone, phone in hand. A reshoot now costs five minutes; a return trip costs an hour.

Still from the course video

If a scale bar or ruler was issued: it lies flat at the base, in view in a dozen or more of the low and mid frames, and does not move for the whole session.

VERSION 2.0 · SEPTEMBER 2026

The whole protocol on one card

Print this page. It is the only thing you have to carry.

Download the slides (PDF)
THE WHOLE THING, IN ORDER
1.Permission first: landowner where required; family where known. Nothing touched, cleaned or moved.
2.Settings once: JPEG, 24 MP, Macro Control on, extra lenses off, Standard style, grid on. Live Photo off.
3.At the stone: 1x exactly. Macro off — get close, tap the flower, back up. Press and hold to lock.
4.Back up until the whole stone plus a margin fits the frame.
5.One full circle, about 24 stops. At every stop: arms up, level, crouched — then step.
6.Step, stop, breathe out, shoot. Never shoot while moving.
7.Four extras: straight down on top, square-on to each face.
8.Measure W and H with the Measure app, each twice. Screenshot both.
9.About 80 frames. Overcast light. No zoom, no close-ups. One phone per stone. Delete nothing in the field.
10.Sixty-second check: 24 mm, sharp, nothing clipped, lap closed, measured.
11.Hand off to your county's processor: originals, the named folder, the screenshots, one line of field log.
STEP 5 · HAND OFF

Send the files to your county's processor

One trained person per county holds the software license, builds and checks each model. Your photographs go to them.

Capture →
you, after this course
Hand-off →
originals, folder name, field log, W and H
Process & review →
county processor: scale, clean, check
Record
County Record Keeper: public filing, or archive at the family's access level
WHAT TO SEND
1
Originals only
In person: AirDrop — in the share sheet tap Options, set the format to Current and turn on All Photos Data — or import by cable. Not in person: upload the whole folder to the link your processor gives you. Never text the photographs and do not email them; the size gets cut on the way.
2
One folder, named for the marker
Grave##_YourInitials_YYYY.MM.DD — for example Grave03_EF_2026.09.20. The Measure screenshots go inside it.
3
One line of field log
Date, time, sky, operator, device, lens locked yes or no, frame count, W and H (and "Measure app" or "tape"), who gave permission, and anything that blocked part of the lap.
WHO'S WHO IN YOUR COUNTY

Capture volunteers. Take the course; photograph markers where permitted; hand in the originals with a field log.

Processor (one per county). Trained on the processing software; holds the license; processes, scales and checks each model; keeps the originals.

County Record Keeper. Takes each record through the state process — in Texas the HTC or HTFC application, Notice of Existence and registry entry; in Alabama the Alabama Historic Cemetery Register — and works with families and the county historical commission. One person may also serve as processor.

Processing time from the Grave 3 study: 9 min 11 s and 9 min 12 s per model on an Apple M3 laptop. If something in this does not work at the stone, tell us — the protocol changes, not the volunteer.

THE TEST: FOUR FIELD SEASONS VS. FIFTEEN MINUTES

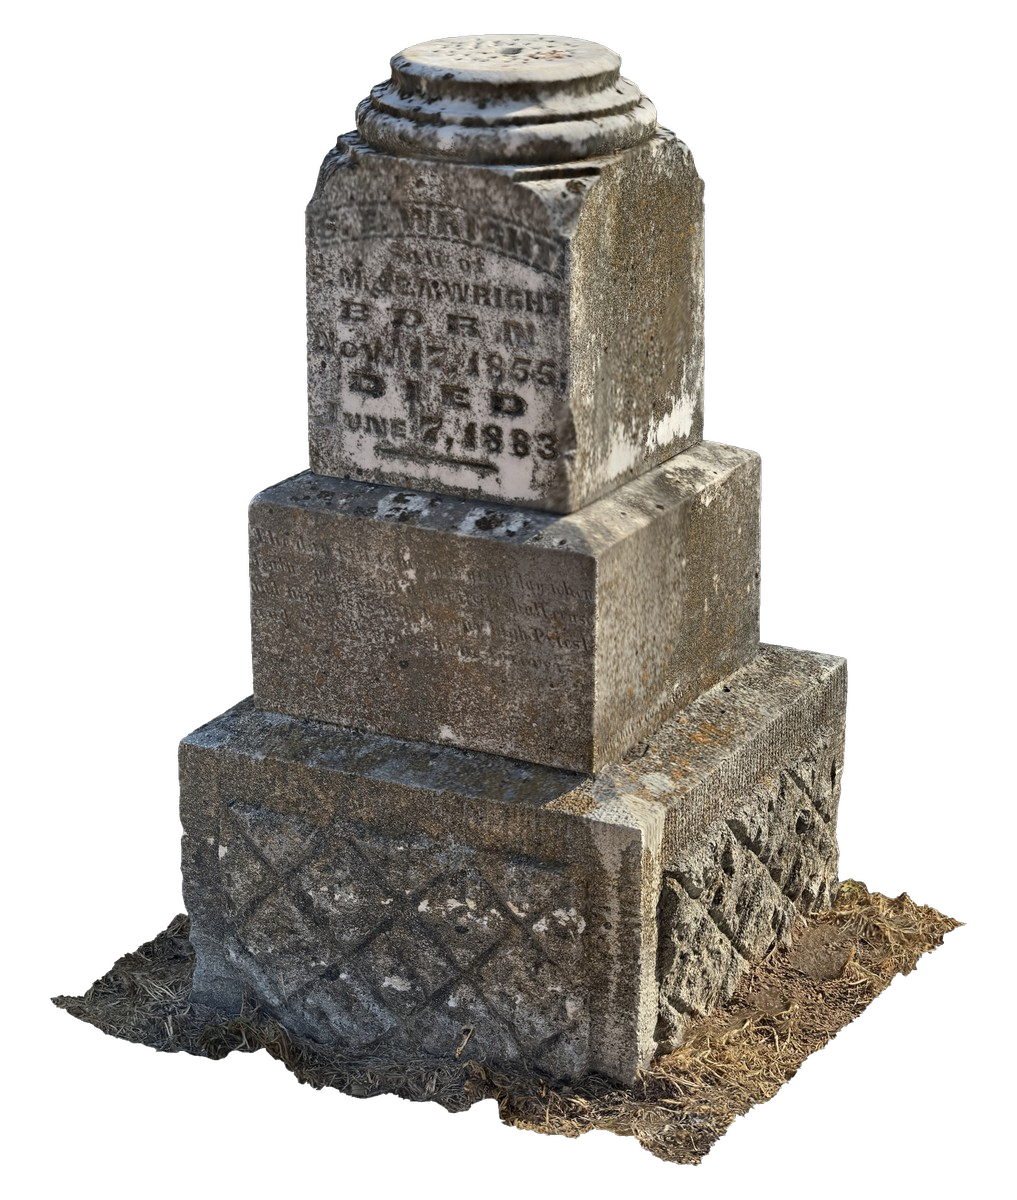
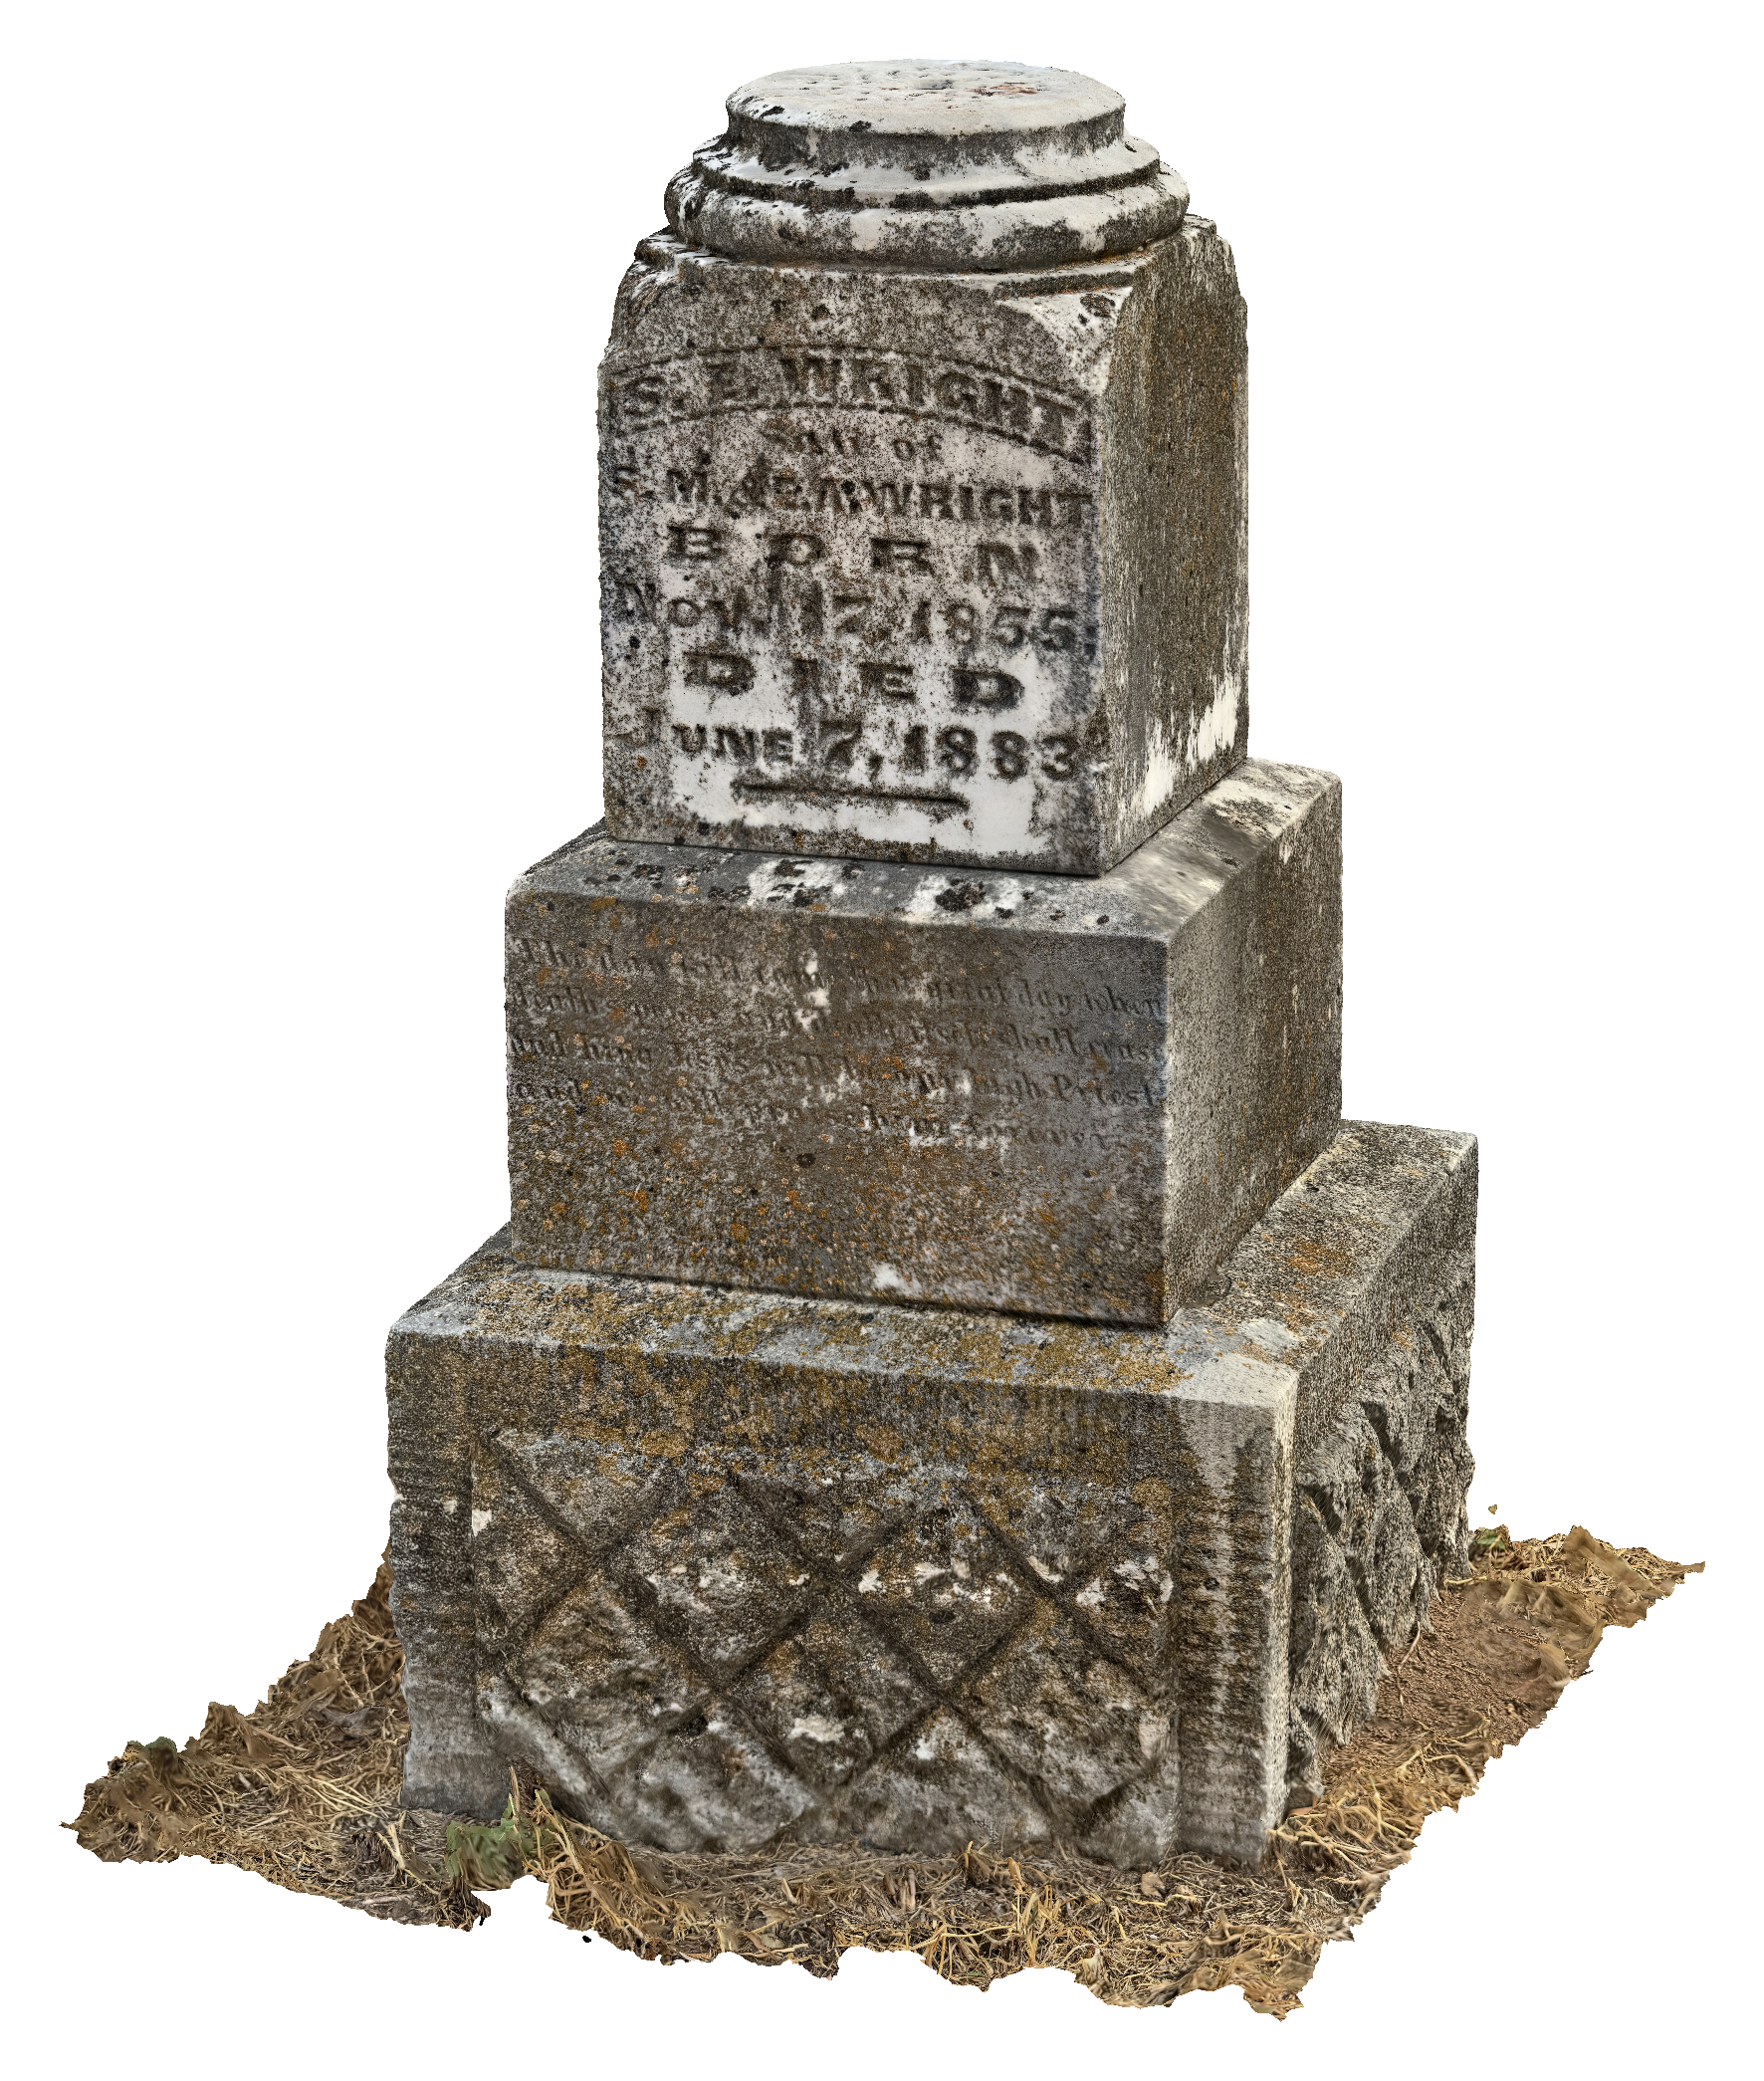
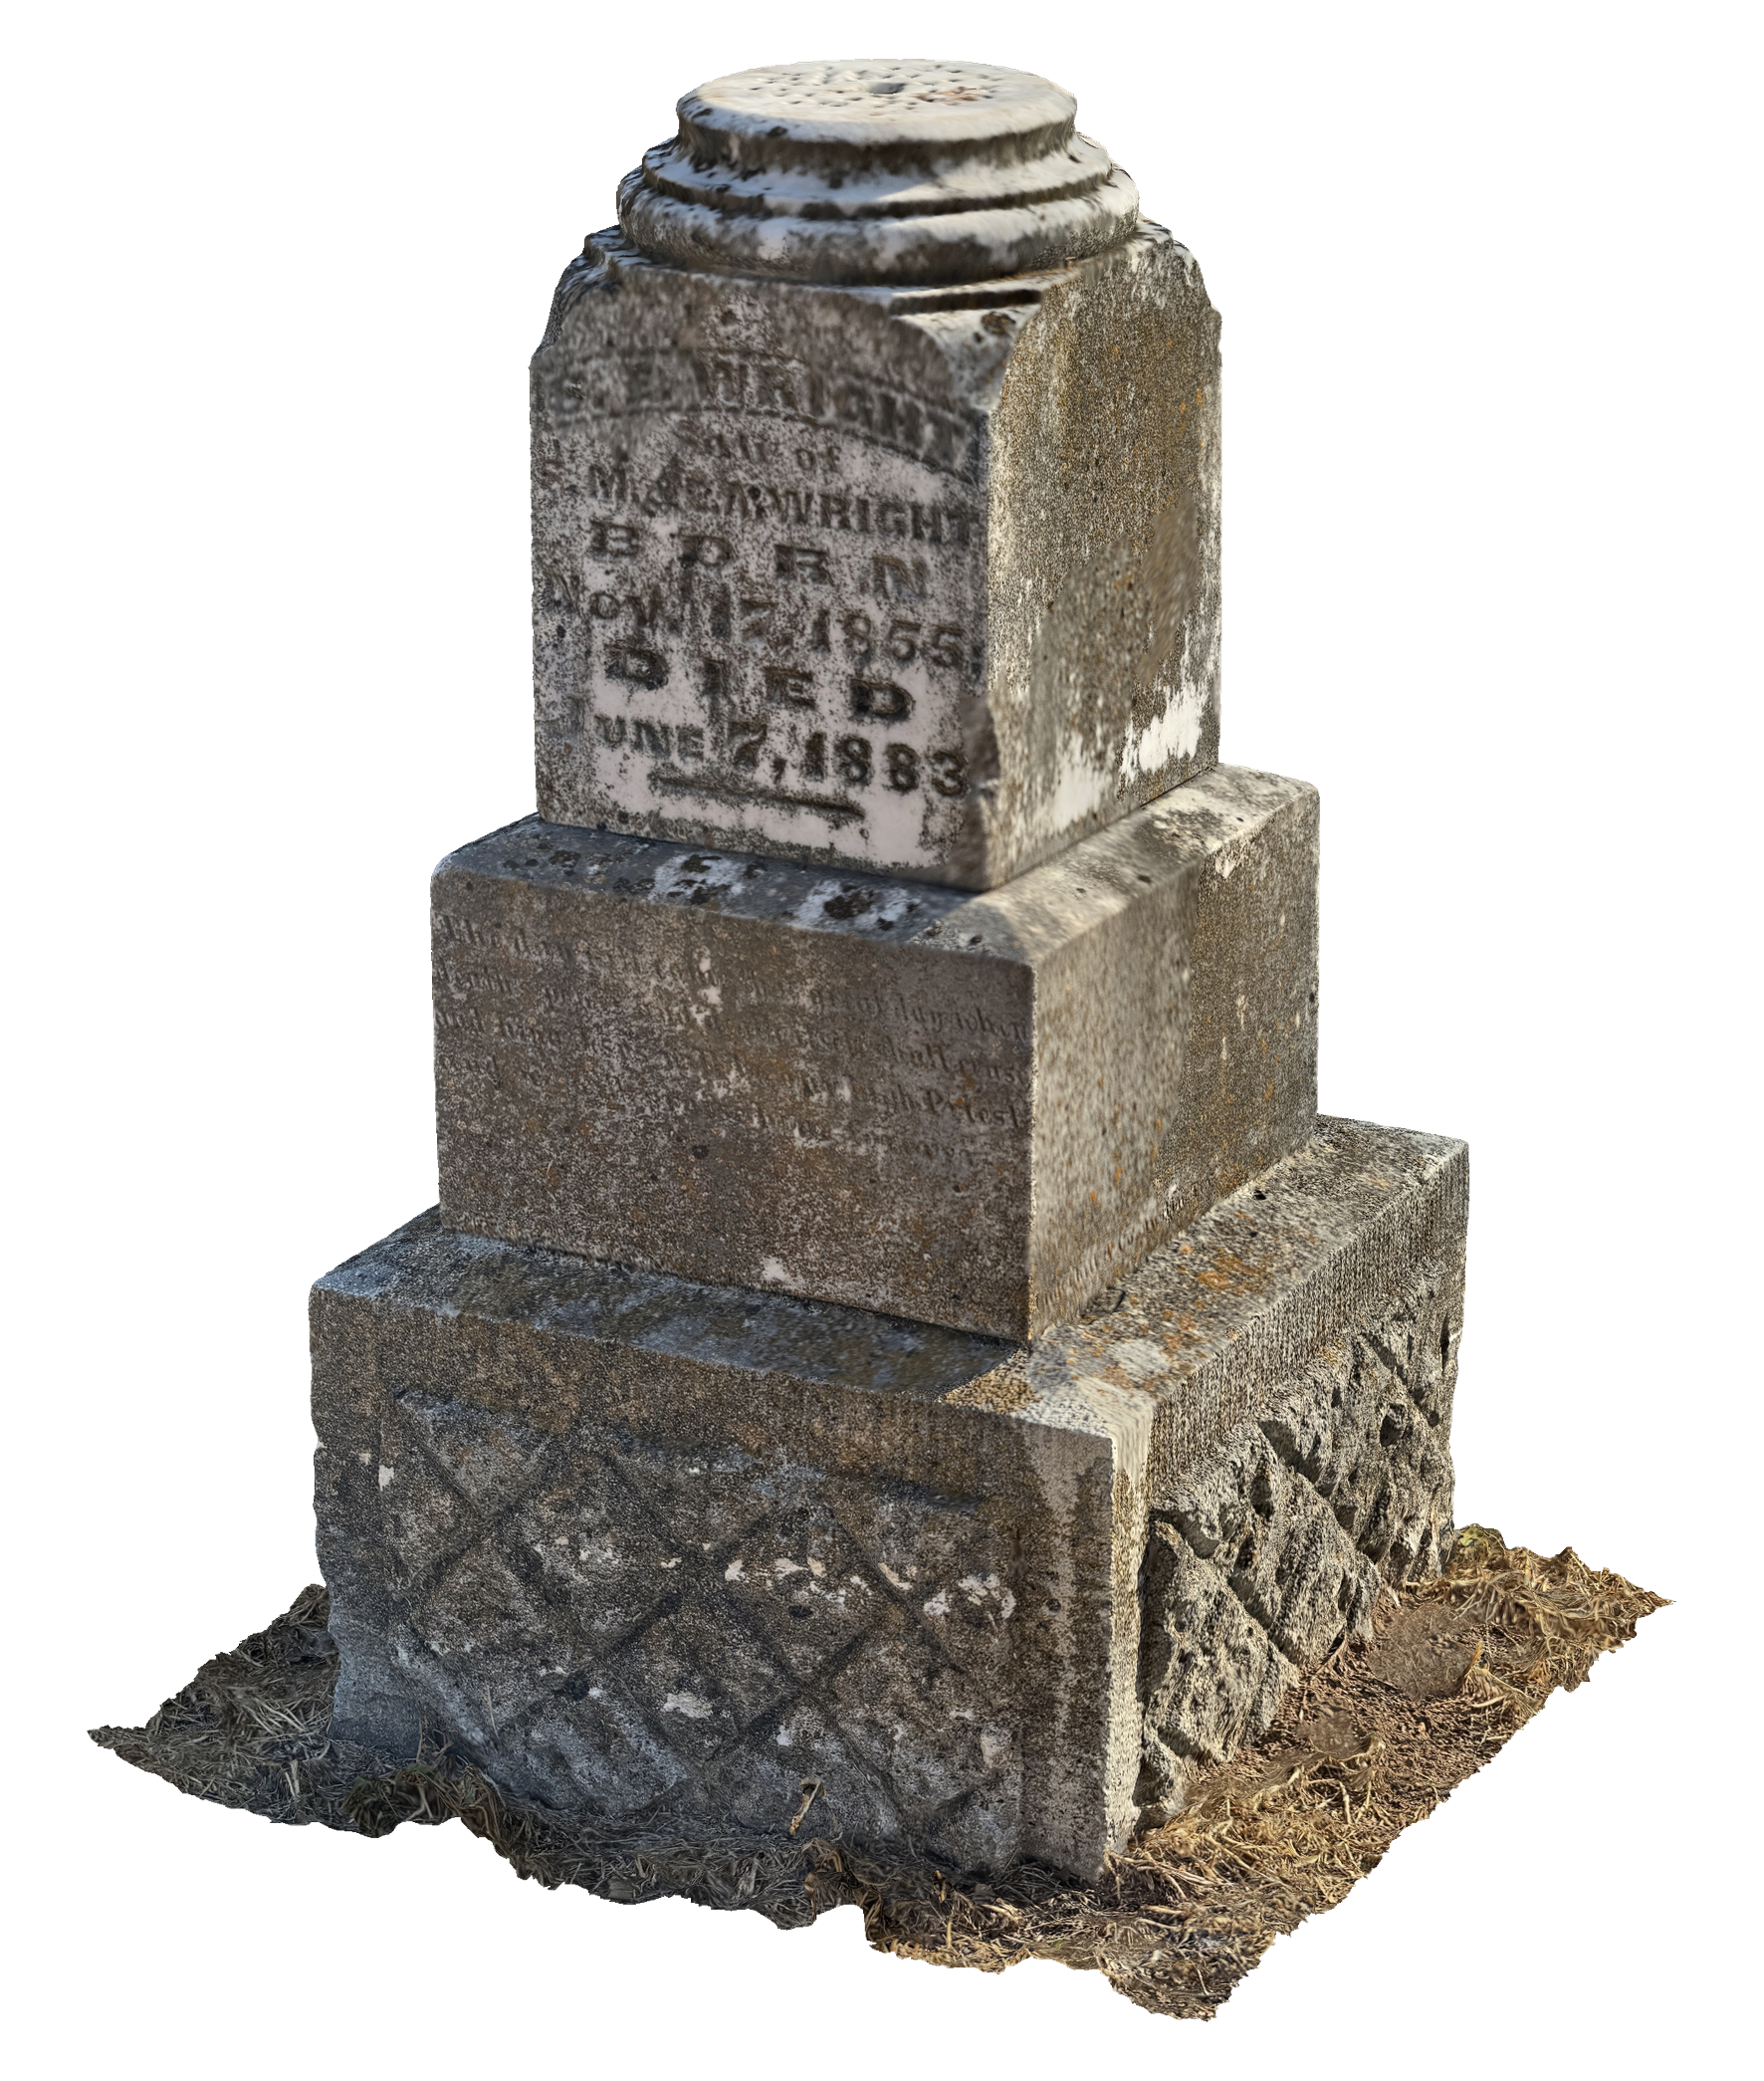
Which one did the volunteer make?

A
Figure A
B
Figure B
Answer: B, made after the 15-minute course. Shown at equal height; models unscaled.
100%
of photos aligned, in both sets
77%
of the trained operator's detail (points per depth map)
1.95 vs. 1.78 px
reprojection error, volunteer vs. trained
9 min
to process each model

The inscription and dates are legible in both. The volunteer's model has less detail but serves the same uses.